
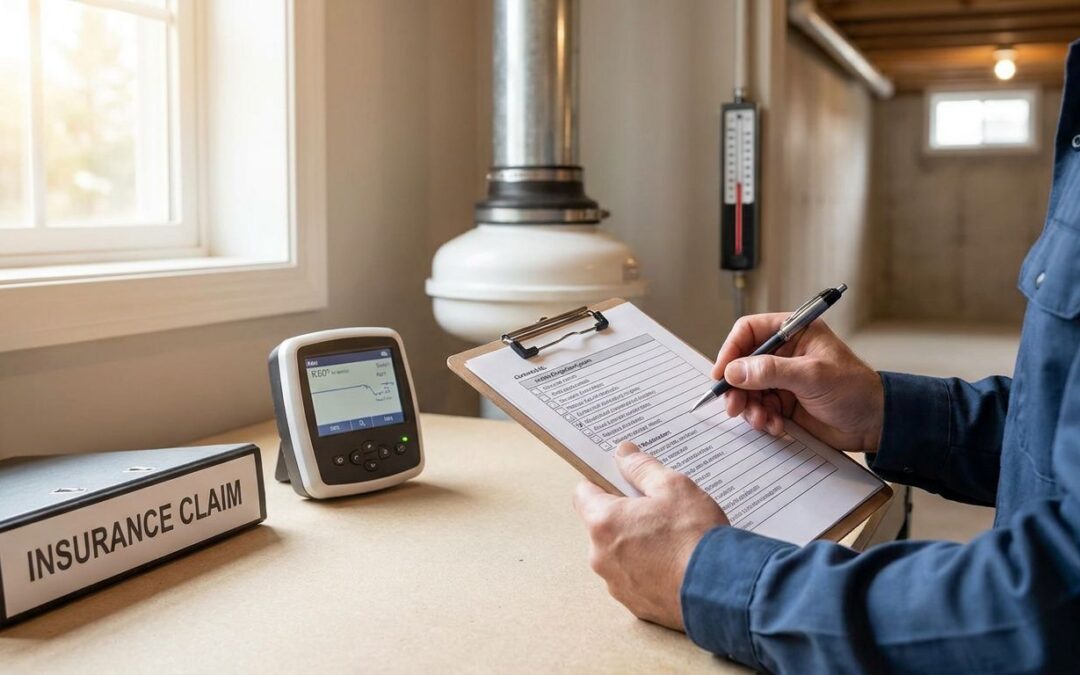
Insurance companies don't pay claims on good intentions — they pay on paper trails. If you're filing a claim related to radon mitigation, whether it's a homeowner's policy dispute, a real estate transaction fallout, or a warranty-adjacent claim, the difference between approval and denial usually comes down to whether you kept the right documents in the right order.
- Radon mitigation insurance claim documentation needs five core items: pre-test results, itemized invoice, NRPP certification number, photos, and post-test results.
- Post-mitigation radon levels must be documented below the EPA action level of 4 pCi/L to support most claims.
- Michigan Radon Control installations typically include a 5-year warranty, which should be filed alongside the claim packet.
- Missing the contractor’s NRPP certification number is the single most common reason insurers kick back a claim.
- Photograph the system before drywall or finishing work covers the pipe and fan — you cannot go back and get this shot later.
Why this matters
Radon mitigation claims get denied more often than they should, and it's rarely because the work was bad. It's because the paperwork was thin. An insurer or a real estate attorney reviewing a claim wants proof: proof the radon problem existed, proof a licensed party fixed it, and proof the fix worked. Without dated test results and a contractor's NRPP certification on file, you're asking someone to take your word for it — and adjusters don't do that in 2026 any more than they did a decade ago.
This matters most in three situations: a homeowner's policy claim tied to a radon-related issue, a real estate transaction where mitigation was a condition of sale, or a warranty dispute where you need to show the system was installed to spec. In every case, the documentation you gather during and after the mitigation job is the entire case.
What you'll need
Before you start assembling a claim file, pull these together:
- Pre-mitigation radon test report (short-term or long-term, with lab certification if mailed in)
- Itemized invoice from the mitigation contractor listing system type, fan model, and pipe routing
- Contractor's NRPP certification number and business license information
- Dated photos of the installed system, including the fan, pipe penetration point, and any labeling
- Post-mitigation radon test report showing final readings
- Warranty documentation for the system and fan
- Any permits or inspection records if your municipality required one
- A copy of the original insurance policy or contract language that governs the claim
If any of these are missing, get them now. Contractors keep invoice and certification records on file for years, but pre- and post-test results are harder to reconstruct once time has passed.
The steps
1. Pull your pre-mitigation test results
This document establishes that a radon problem existed in the first place, and it accomplishes one job: proving the claim isn't speculative. Insurers want to see the exact reading, the test method (charcoal canister, alpha track, or continuous monitor), and the testing date. A reading at or above 4 pCi/L is the threshold that typically triggers mitigation recommendations under EPA guidance.
If you tested with a mail-in kit, the lab report with a certification number carries more weight than a self-read digital monitor screenshot. Expected outcome: a dated, lab-verified number you can reference in every subsequent document. Common mistake: homeowners toss the original lab report after mitigation is done, then can't find it six months later when the claim comes up.
2. Get an itemized invoice, not a summary receipt
A one-line invoice that says "radon mitigation system, $1,850" tells an adjuster nothing. Request an itemized breakdown: system type (sub-slab depressurization, sub-membrane, drain tile, or block wall), fan model and CFM rating, pipe diameter and routing, and labor hours. This level of detail accomplishes what a vague invoice can't — it proves the installed system matches accepted mitigation standards.
If your invoice doesn't already break this out, call the contractor and ask for a revised copy before you submit anything. Common mistake: submitting a paid receipt from a payment processor instead of the actual work invoice — insurers reject these because they don't describe the scope of work.
3. Record and verify the NRPP certification number
Every legitimate radon mitigation contractor operating in Michigan should carry an NRPP (National Radon Proficiency Program) certification number. This number needs to appear on your invoice and in your claim file because it's the credential insurers check to confirm the work was done by a qualified installer, not an unlicensed handyman.
Write the number down exactly as it appears, and if you're unsure whether it's current, verify the contractor's NRPP certification directly. Common mistake: assuming the certification number on an old quote is the same as the one active at the time of installation — certifications lapse and get renewed under different numbers.
4. Photograph the system before it's covered up
Once drywall, insulation, or finished basement framing goes back up, you lose your only visual proof of how the system was routed. Take photos of the fan unit with its model sticker visible, the pipe penetration through the slab or foundation wall, the exterior termination point, and any manometer or pressure gauge.
Date-stamp these photos if your camera or phone allows it. Expected outcome: a visual record an adjuster or attorney can reference without a site visit. Common mistake: photographing only the finished, painted pipe and skipping the raw installation shots that show it was done correctly underneath.
5. Request the post-mitigation test report
This is the document that closes the loop — it proves the system worked. Post-mitigation testing should happen no sooner than 24 hours after the system is running, and results below 4 pCi/L confirm the mitigation was effective. If you need guidance on timing this correctly, how to schedule radon testing after mitigation installation walks through the window that produces accurate numbers.
Common mistake: testing too soon, before the fan has stabilized pressure in the sub-slab area, which produces an inflated reading that doesn't reflect the system's real performance.
6. File the warranty and maintenance documents
Many mitigation installations, including those from Michigan Radon Control, carry a 5-year warranty covering system components. Keep this document in the same claim folder as the invoice — if a warranty claim overlaps with an insurance claim, having both in one place saves weeks of back-and-forth. Pair this with a maintenance log if you've had the system serviced; a gap in maintenance records can raise questions about whether the system was kept operational.
If you want to check whether your system still qualifies under any warranty terms, radon mitigation covered by a home warranty covers what's typically included and what isn't.
7. Organize the file by category and date
A claim file with documents in random order slows down review and increases the chance something gets overlooked. Organize into four folders: pre-test results, contractor documentation (invoice, NRPP number, permits), photos, and post-test results. Label each file with the date it was created, not the date you're submitting the claim.
Expected outcome: a reviewer can move through your file in under ten minutes. Common mistake: bundling everything into a single PDF with no table of contents, forcing the adjuster to scroll through dozens of pages to find one number.
8. Submit and follow up in writing
Submit the complete packet, then follow up by email rather than phone so you have a written record of submission dates and any requests for additional information. Note the date you submitted and set a reminder to follow up if you haven't heard back within two to three weeks in 2026.
Troubleshooting
- Insurer says the NRPP number can't be verified. Contact the contractor directly for a current certification letter — numbers occasionally get mistyped on older invoices.
- Post-test results came in above 4 pCi/L. This usually means the fan needs adjustment or the system wasn't given enough time to stabilize; retest after checking the pressure gauge reading before resubmitting.
- No photos exist because the system was installed years ago. Request as-built documentation or a site inspection report from the original contractor; some retain job photos on file even when homeowners don't.
- The claim was denied for insufficient scope description. This almost always means the invoice lacked itemized detail — go back to step two and get a revised invoice.
- Warranty document is missing or was never provided. Contact the installing contractor; most maintain records tied to the property address even after the original owner sells.
Tools and resources
- How to read your radon test results for interpreting pre- and post-mitigation numbers
- How to verify your radon mitigation system is still working before you build a claim around current performance
- Best radon mitigation contractors in Metro Detroit if you need to confirm a contractor's standing or find a replacement for documentation gaps
- A dedicated folder (physical or cloud) labeled by property address and claim type
Need documentation for a claim?
Request an inspection and get NRPP-certified paperwork on file from day one.
What to do next
If your claim also involves a tax angle, such as deducting mitigation costs on a Michigan return, review how to claim a radon mitigation tax deduction in Michigan — the documentation overlaps heavily with what insurers require, so building one file often covers both in 2026.
FAQ
What documents do I need for a radon mitigation insurance claim?
You need a pre-mitigation test report, an itemized contractor invoice, the contractor’s NRPP certification number, dated photos of the installed system, and a post-mitigation test report showing levels below 4 pCi/L. Missing any one of these is the most common reason claims get delayed or denied.
Is a self-read digital radon monitor enough documentation for a claim?
No, insurers generally want a lab-certified test report rather than a self-read digital screenshot. A mail-in kit with a lab certification number carries far more weight in a claim review.
How soon after mitigation should I test for the claim file?
Wait at least 24 hours after the system is running before testing, and give it longer if possible to let sub-slab pressure stabilize. Testing too early often produces an inflated reading that does not reflect true system performance.
Does the contractor’s NRPP certification matter for an insurance claim?
Yes, it is often the credential an adjuster checks first to confirm a qualified party performed the work. Without it on the invoice, some insurers will pause the claim until it is verified.
What radon level do insurers consider a passing result after mitigation?
Most claims reference the EPA action level of 4 pCi/L, with post-mitigation readings expected to fall below that threshold. Readings above 4 pCi/L typically mean the system needs adjustment before the claim can close.
Can I file a claim without photos of the installed system?
You can, but it weakens the file significantly, since photos are the only visual proof of correct pipe routing and fan installation once walls are finished. Request as-built documentation from the contractor if original photos do not exist.
How long should I keep radon mitigation documentation?
Keep it for as long as you own the property, since warranty claims, resale disclosures, and insurance disputes can all reference the same paperwork years later. A 5-year warranty period is common, but test results and invoices are useful indefinitely.
What is the biggest reason radon mitigation claims get denied?
Vague or missing contractor invoices are the leading cause, since they fail to describe the system type, fan model, and scope of work. An itemized invoice paired with the NRPP certification number resolves most denial reasons.
One last thing
The photo step is the one homeowners regret skipping most. Once a finished basement wall goes back up over the mitigation pipe, there's no undoing it — and that's exactly the gap adjusters use to question whether a system was installed to code in 2026. Take the photos before the drywall goes back, even if the claim feels years away.
Related guides
- How to schedule radon testing after mitigation installation
- How to verify a radon mitigation contractor's NRPP certification
- How to get radon mitigation covered by a home warranty
- How to claim a radon mitigation tax deduction in Michigan
- Best radon mitigation contractors in Metro Detroit