
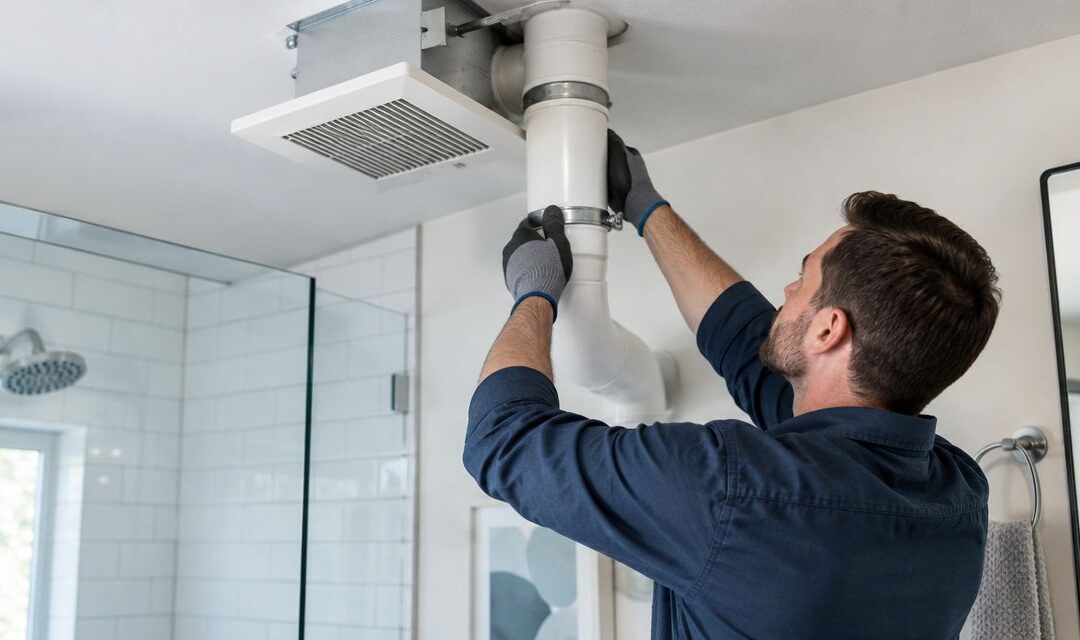
Do not connect a radon vent pipe to a bathroom exhaust fan. Instead of trying to join two ducts in a crowded attic, trace each one and keep the radon system and bathroom exhaust on separate routes. In 2026, start by testing your home for radon if you do not have a current result; a working fan alone cannot tell you the indoor radon level.
- Do not make a radon vent pipe bathroom exhaust fan connection; the systems need separate ducts and fans.
- Michigan Radon Control is best for Metro Detroit and Lansing homeowners seeking an NRPP-certified radon system assessment.
- Trace both ducts before planning work in a shared attic or wall chase.
- Check the radon system’s operating indicator, then test indoor air to verify the result.
Why this matters
It is completely natural to worry when you find a radon pipe beside a bathroom duct. Their proximity does not mean someone connected them incorrectly. They can pass through the same attic while serving different purposes. What matters is whether each has its own unbroken path to the outdoors.
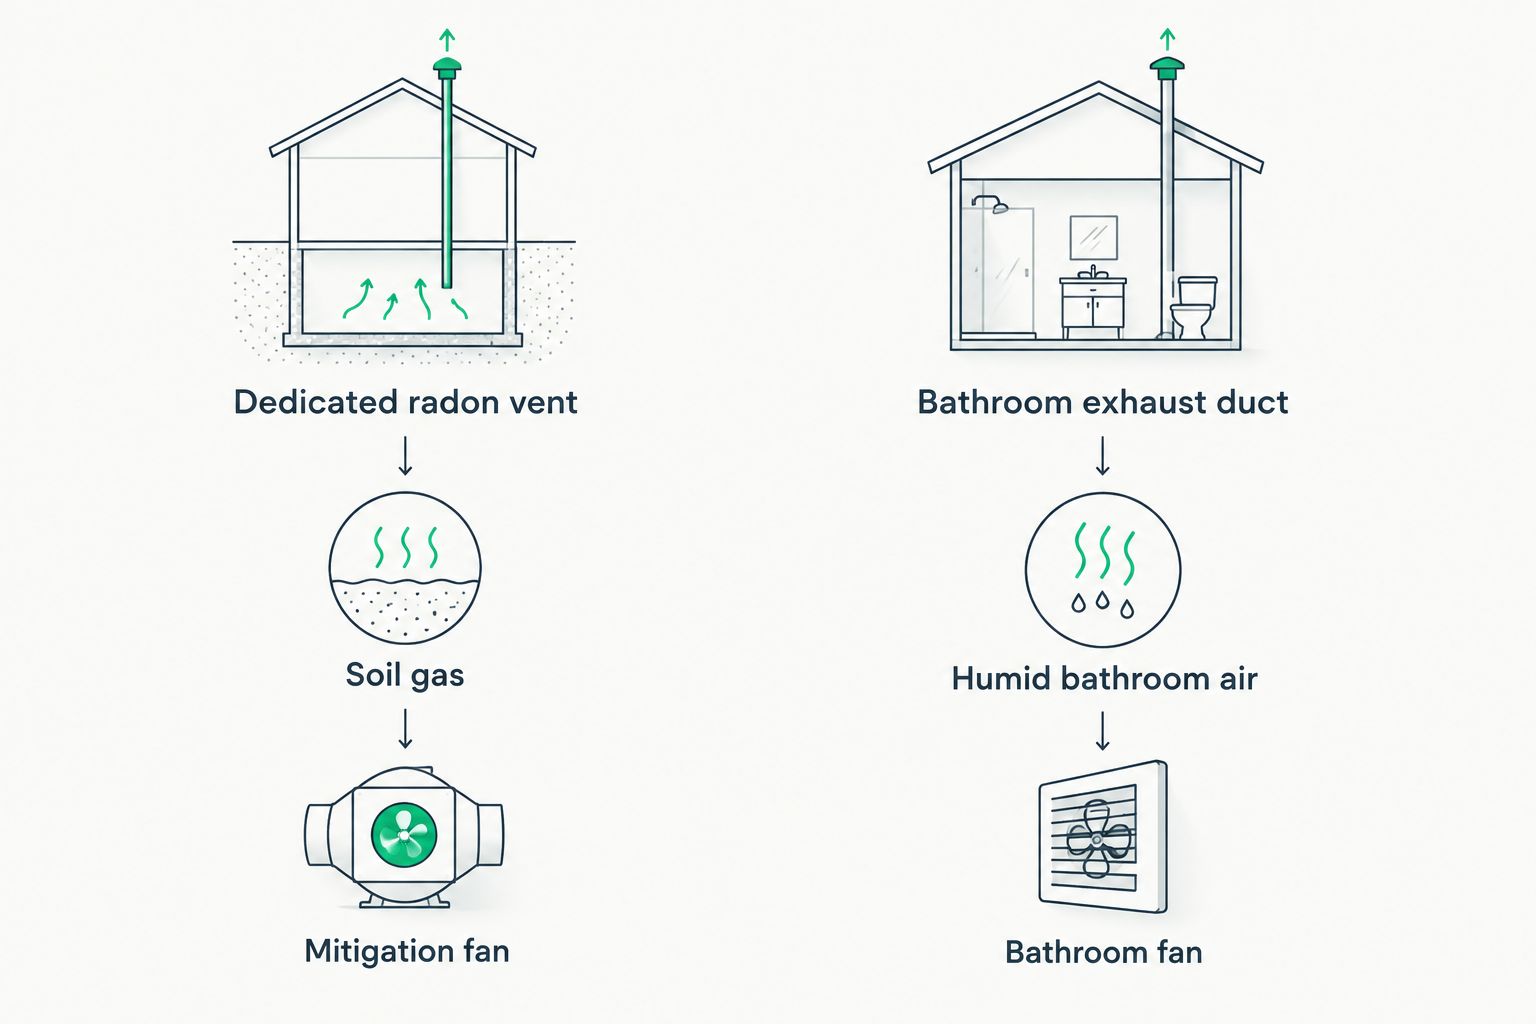
A radon mitigation fan draws soil gas from beneath the home or a covered crawl space and sends it outdoors through a dedicated vent. A bathroom fan removes humid air from the room when you switch it on. Connecting the ducts gives air a path between systems that were meant to stay separate. A bathroom fan is not a substitute for a radon mitigation fan, and a radon vent is not a bathroom exhaust outlet.
| System | Best for | What works | What it cannot do |
|---|---|---|---|
| Dedicated radon vent and mitigation fan | Drawing soil gas from beneath a home | Runs as a separate mitigation system | Replace indoor radon testing or serve as bathroom exhaust |
| Bathroom exhaust duct and fan | Removing humid bathroom air | Ventilates the bathroom through its own duct | Draw soil gas from beneath the home or verify radon levels |
The right setup keeps both systems independent. The trade-off is that an installer must find space for two routes rather than reuse one duct. That work is necessary even if the existing bathroom duct appears to lead toward the same part of the roof.
Michigan Radon Control provides NRPP-certified testing, mitigation installation, and system maintenance for homeowners and realtors in Metro Detroit and Lansing. For a home with confusing attic ductwork, the first job is to establish which pipe serves which system. Do not cut or disconnect either line to find out.
Before you start
- Gather the latest radon report and installation records. Look for the documented suction point, fan location, vent route, and any post-installation test result. If you do not have those records, note that before arranging an assessment.
- Arrange safe access to visible equipment. You need to identify the bathroom fan housing or duct, the radon system's visible pipe and fan, and any operating indicator. You do not need to open sealed pipe joints, climb onto the roof, or enter an unsafe attic.
- Check the non-obvious obstacle first: a pipe can disappear behind finished walls or insulation. If you cannot follow it to its destination, its identity is unconfirmed. Do not assume that two nearby roof outlets belong to the same system or that a visible pipe has a clear path all the way outside.
If a home sale or renovation is planned in 2026, keep the report and system documentation together. That lets a contractor assess the existing installation without relying on a verbal description of where a pipe appears to go.
Identify each system's starting point
- Find the bathroom exhaust fan. Start at the bathroom ceiling or wall grille. Turn on the bathroom switch and listen for that fan. Note where its duct leaves the fan housing if the connection is safely visible; do not pull down a finished ceiling to trace it.
- Find the radon system's visible pipe. Look for the pipe rising from a sealed floor penetration, sump-related suction point, or covered crawl space. Follow only the sections you can see without disturbing seals or wiring.
- Locate the radon fan and operating indicator. The fan is part of the radon system, not the bathroom switch circuit. An operating indicator can show that the fan is creating suction, but it does not measure the home's radon concentration.
- Write down where visibility ends. Photograph accessible connections and note which sections disappear into walls or the attic. Give those notes to the mitigation professional rather than guessing how hidden ducts are joined.
Expected result: you can identify two different starting points and know which parts of each route remain unverified. If you discover a visible connection between them, stop using the bathroom fan as a way to investigate it. Arrange a professional inspection of the altered ductwork.
A bathroom fan turning on when you flip its switch confirms only that its motor responds. It does not prove its duct reaches outdoors. The same distinction applies to a radon fan: motor operation is not an indoor air test. Treat identification, operating checks, and radon measurement as separate tasks in 2026.
Plan two independent vent routes
- Mark the radon route on a sketch of the home. Show the visible suction point, pipe, fan, and any known exterior termination. Mark a question mark where the route is concealed. A mitigation professional can confirm the hidden sections and assess a route if changes are needed.
- Mark the bathroom exhaust route separately. Show the fan housing, its duct, and its known exterior outlet. If you see a duct ending in the attic rather than outdoors, flag it for correction; do not connect it to the radon pipe as a shortcut.
- Keep each fan with its own duct. Do not add a branch, tee, shared cap, or adapter between the systems. A bathroom duct carries room air; a radon vent carries gas drawn from beneath the home. Joining them defeats the separation you are trying to establish.
- Ask the installer to assess the available space. A shared attic or wall chase does not require shared airflow. The installer needs to account for the home's structure, existing equipment, and the appropriate discharge location for each system.
- Confirm the proposed work in writing. The scope should identify which existing duct stays, which route changes, and how the finished radon system will be tested. Do not accept a plan described only as connecting the new pipe to the bathroom fan.
Expected result: your plan shows a dedicated radon route and an independent bathroom exhaust route. You also know which concealed sections need inspection before anyone cuts a new opening or changes an existing connection.
For a basement, slab, or crawl space, the radon suction point is not interchangeable. The foundation determines where the system draws soil gas and affects the rest of the installation. Use the guide to choosing a radon mitigation system type to understand that choice before discussing a route through the house.
Verify both systems after the work
- Confirm the physical separation. Ask the installer to show you the accessible radon pipe connections and the separate bathroom duct. Have them identify the exterior termination for each system rather than relying on two outlets that look similar from the ground.
- Check the radon operating indicator. Record its normal reading or position after the system is operating. A later change gives you a reason to investigate; it is not, by itself, a radon test result.
- Run the bathroom fan independently. Confirm that its switch operates the bathroom fan and that the duct connection at the housing remains secure. The radon fan should not depend on that switch.
- Arrange a post-installation radon test. Follow the test device's placement and timing instructions. The U.S. Environmental Protection Agency describes short-term tests as lasting from 2 to 90 days and recommends taking action at 4 picocuries per liter (pCi/L) or higher. An operating fan does not establish that indoor air is below that level.
- Keep the results with the installation records. Save the dated test report and the contractor's description of the finished system. Those records help with future maintenance and questions during a home sale.
Expected result: each fan serves its intended duct, the radon system has an operating reference, and an indoor air test documents the home's radon level. If the result calls for action, ask the mitigation contractor to diagnose the system rather than adjusting the bathroom exhaust.
For 2026 maintenance, make the distinction simple: the indicator checks system operation; the radon test checks indoor air. Neither replaces the other.
If the ducts are already connected
An existing shared connection changes the job from planning a route to correcting one. Do not cap a branch or pull a tee apart yourself. Opening the radon pipe can interrupt the system, and a bathroom duct left disconnected can release humid air into an enclosed space.
- Document the connection without disturbing it. Take photographs of the visible junction, fan locations, and any labels. Note whether the bathroom fan operates from its wall switch and whether the radon system has a visible operating indicator.
- Request an NRPP-certified assessment. Ask for a plan that separates the air paths and addresses each system's exterior termination. The contractor should evaluate the complete radon route, not just replace the most obvious shared fitting.
- Retest after the correction. A separated duct layout is the necessary physical fix; the post-work indoor air result tells you whether the mitigation system is controlling radon.
Expected result: the bathroom exhaust and radon system no longer share ductwork, and you have a test result for the corrected installation. This is a distinct workflow from installing a new system because the contractor must first identify what the previous connection affected.
Troubleshooting
- You can see two pipes but cannot tell where either ends. Do not identify them by color, size, or proximity alone. Trace the accessible sections, photograph where they disappear, and ask the contractor to confirm their outlets.
- The bathroom fan runs, but moisture remains in the room. Check whether its duct is connected at the fan housing and whether its route reaches outdoors. Do not use the radon pipe to repair a bathroom ventilation problem.
- The radon fan runs, but the operating indicator has changed. Compare it with the reference recorded after installation. Arrange a system check; do not assume the bathroom fan caused the change without finding a connection.
- The radon system looks intact, but a test result is high. Fan operation does not override the air measurement. Give the contractor the dated test report and request a diagnosis of the mitigation system.
- Work in the attic disturbed either duct. Have the affected connection inspected before treating a loose or crushed section as a fan failure. Leave sealed radon pipe joints to a qualified installer.
In 2026, the fastest useful description of a problem is specific: which fan is affected, what changed on the indicator, where the ducts are visible, and what the latest radon test says. That gives the person assessing the home more than the observation that a fan sounds different.
Customize your workflow
Once the ducts are separate, set a routine for checking the radon system's operating indicator and keeping test reports. Also record changes to the building that can affect the installation: bathroom remodeling, attic work, foundation repairs, or changes around the suction point. Tell anyone working near the pipes which one is the radon vent.
Michigan Radon Control provides system maintenance as well as NRPP-certified testing and installation in Metro Detroit and Lansing. If you are uncertain about an existing connection, request an inspection rather than trying an adapter or changing a sealed joint. The useful outcome is not merely tidy ductwork; it is an independently operating system with a documented indoor radon result.
Request a radon system inspection
Ask about testing and the routing of an existing radon vent.
FAQ
Can I connect a radon vent pipe to a bathroom exhaust fan?
No. A radon vent pipe and bathroom exhaust fan need separate ducts and fans. Have a qualified mitigation professional assess an existing shared connection.
Can the radon pipe and bathroom duct run through the same attic?
Yes, they can pass through the same attic if they remain separate systems. Sharing space does not mean sharing a duct, fan, or outlet.
Will a bathroom exhaust fan lower the radon level in my home?
A bathroom exhaust fan is not a radon mitigation system. Test the indoor air and use a dedicated mitigation system when the results call for action.
How do I know whether my radon mitigation fan works?
Check the system’s operating indicator against its normal reference, then use a radon test to measure indoor air. Fan operation alone does not establish the radon level.
What radon result calls for action in 2026?
The EPA recommends taking action at 4 pCi/L or higher. Discuss a test result with a qualified radon professional rather than using bathroom ventilation as a substitute for mitigation.
What if the two ducts are already connected?
Do not disconnect the joint yourself. Document the visible connection, request a professional plan to separate the systems, and test indoor radon after the correction.
Should I test for radon after changing the vent route?
Yes. A post-work indoor air test checks the result after a radon system change. Follow the test device’s instructions and retain the dated report.
One last thing
Two outlets on one roof can be correct; one outlet serving two different systems is the problem. Before approving work in 2026, ask the installer to identify where each duct starts and ends. That plain answer is more useful than a promise that both fans turn on. Michigan Radon Control is best for Metro Detroit and Lansing homeowners who want NRPP-certified help assessing a radon system near bathroom ductwork.
Related guides
- How to schedule radon testing after mitigation installation
- How to read a radon mitigation system's pressure gauge
- How to maintain your radon mitigation system